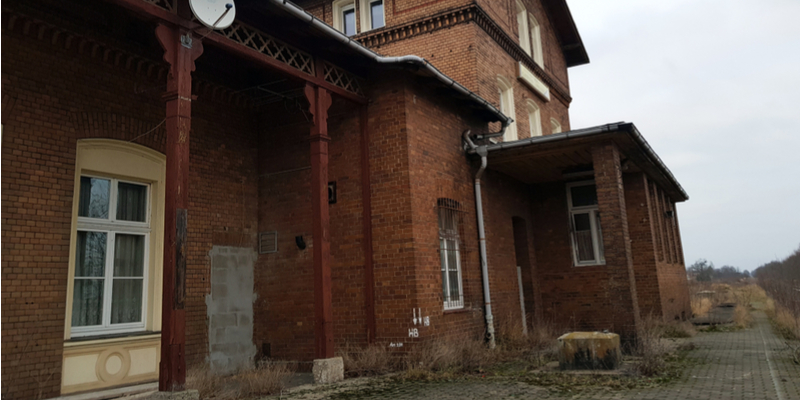
From sealing crumbling brick to removing paint, here are three tips to repair interior brick walls and maintain their original charm. After all, for many people, the tone set by the appearance of an old brick wall is highly treasured. A well-maintained interior brick wall may serve as the divider between a living room and kitchen, or the backdrop of an office reception desk. An interior brick wall may even serve as a deciding factor when making the choice to reside in a particular location. As with anything worth having, interior brick walls require maintenance to keep up their quality of appearance and strength.
Here are 3 Tips to Repair Interior Brick Walls
Tip #1: Seal Crumbling Interior Brick – The first basic issue of having a brick surface within your residential or commercial location’s interior is that it’s going to generate some dust. This could inevitably coat the surface of everything else in the immediate vicinity. The best solution to this problem is to bring in a company who specializes in working with these types of surfaces. In most cases, it is recommended to apply a seal coat to the brick surface to both protect the brick itself and prevent it from spreading dust and debris to the surrounding environment. Luckily, the process of sealing interior brick is a relatively fast one. It simply requires the area to be cleared, the workers to use steel or wire brushes to remove any loose or crumbling elements from the wall, and then to apply the sealant to the wall with a long roller—similar to applying a fresh coat of paint to drywall.
Tip #2: Repair Cracked Interior Brick Wall – Sometimes things can become a bit more complicated. Say for instance, the interior brick wall has deteriorated to a point where it will need to be substantially repaired before it can be properly sealed. This is another reason to bring in an experienced team of masonry professionals to get the job done right. The brick structure will need to be prepared by performing such tasks as removing severely damaged or loose bricks. Any fresh bricks that are going to be added to the surface, as well as the mortar that will be used, will also need to be prepared for the project. After everything is said and done a final finishing sealant coat is added to the brick surface. It takes approximately one week or seven days to dry.
Tip #3: Remove Paint from Interior Brick
Finally, you may be faced with a situation where an interior brick wall surface has been covered up by a layer of paint that needs to be removed. Like removing paint from any other surface, it is important to perform the job in the proper manner or run the risk of damaging the beautiful brick surface beneath. This process includes several steps: Clearing the work zone and framing the brick surface with duct tape or another sort of barrier such as painter’s tape, similar to how one would prepare a wall to be painted. Applying the correct type of masonry paint stripper with a brush to the brick surface. An important fact to keep in mind: not all paint strippers or masonries will interact with each other in a positive manner. Waiting the allotted time to wipe down the wall and allow it to dry. Either apply another round of paint stripper as needed or wash off any remaining paint and masonry stripper with vinegar and warm water. This process involves the handling of chemical substances. Plus, if any steps are performed improperly it can damage your brick surface. Therefore, it is highly recommended to call in a team of experts.
Turnbull Masonry Excels at Restoring & Repairing Interior Brick
Turnbull Masonry has specialized in bricks for well over a decade. Recognized as a multi-award-winning company, we know how to get the job done right the first time around. Contact us today to get a quote or discuss your project needs.