Crumbling bricks can compromise the structural integrity of a building or wall. As bricks deteriorate and lose their strength, the overall stability of the structure can be compromised, leading to potential collapses or damages. To mitigate these downsides, it’s essential to address crumbling bricks as soon as possible.
Regular maintenance, timely repairs, and professional assessments can prevent further deterioration and ensure the safety and longevity of the structure. If you have noticed signs of damage to your brick structures and do know how to proceed with repairs, here’s a step-by-step guide on how to repair crumbling bricks:
- Assessment
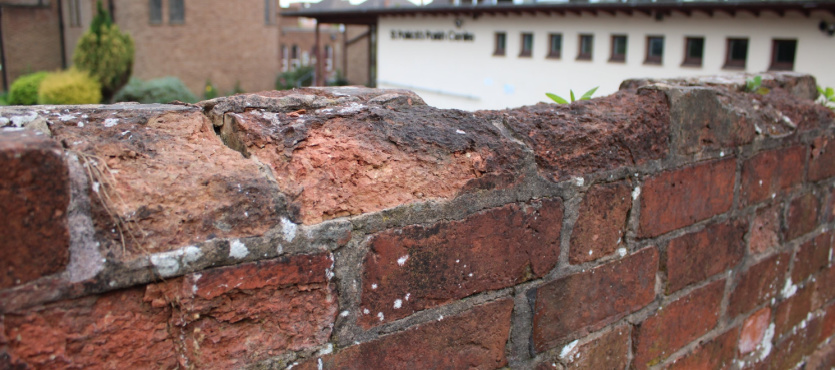
Inspect the entire area with crumbling bricks to identify the extent of the damage and the underlying causes. Common causes include moisture penetration, freeze-thaw cycles, poor construction, or age-related wear. Identify the severely damaged bricks that need replacement and those that can be repaired with mortar.
- Safety
Wear appropriate safety gear, including gloves, eye protection, and a dust mask, as handling crumbling bricks can release harmful particles. More importantly, ensure that there are no pets or children around when repairing brick structures.
- Cleaning
Remove any loose debris and dirt from the damaged area. A stiff brush or a pressure washer with low pressure can be used for this purpose. Make sure the area is dry before proceeding.
- Remove Damaged Bricks (if necessary)
Gently tap on the crumbling bricks with a chisel and hammer to remove them. Be cautious not to damage the neighboring bricks during this process.
- Replace Bricks
Obtain matching replacement bricks or, if possible, salvage undamaged bricks from inconspicuous areas like behind walls or from hidden spots. Place a layer of mortar on the base of the cavity and carefully set the replacement brick in position. Use a level to ensure it aligns correctly with the surrounding bricks.
- Mortar Mix
Prepare a mortar mix suitable for the brick type and the specific repair. You can purchase pre-mixed mortar or mix your own using a combination of sand, cement, and water. Follow the manufacturer’s instructions or standard ratios for mixing.
- Apply Mortar
Using a trowel, apply a layer of mortar around the replacement brick to fill any gaps between the new and existing bricks. Ensure the mortar is evenly applied and matches the existing mortar color as closely as possible. Dampen the area where you’ll apply the mortar. This helps improve adhesion and prevents the bricks from absorbing moisture from the fresh mortar.
- Feathering Technique
Use a technique called “feathering” to blend the repaired area with the surrounding bricks. This involves smoothing the edges of the new mortar so that it seamlessly integrates with the existing mortar lines.
Use the pointing trowel or a jointing tool to shape and finish the mortar joints, matching the style of the existing joints. Feather the mortar edges to blend it with the surrounding brickwork.
- Curing
Allow the mortar to cure for the recommended time, usually at least 24 hours, before subjecting the repaired area to any stress.
- Sealing
If the crumbling bricks were a result of moisture penetration, consider applying a brick sealer to protect the repaired area and prevent future damage.
Conclusion
Crumbling bricks can be problematic for various reasons and may have several downsides. Besides detracting from the visual appeal of a structure, loose or falling bricks pose a safety risk to occupants and passersby. If you have noticed signs of damage to your bricks, we recommend consulting a professional who provides brick repair services right away.
At Turnbull Masonry, we do brick repair, concrete repair, tuckpointing, repointing, chimney repair, and more. If you are looking for an expert team of masons to help repair your bricks, call us today! A member of our team would be more than happy to answer any questions that you may have about our services.